Web Starter Kit is a new Google initiative; part of their mission to streamline web development workflow, whilst at the same time advocating best practices which they suggest in Google's Web Fundamentals.
Clik here to view.

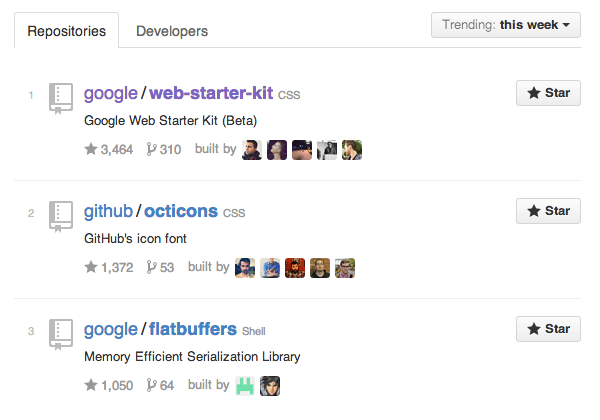
At the time of writing, Web Starter Kit has been around just a few days, launched as a public repo on Github. It has immediately gained traction within the web development community, quickly hitting the top spot in Github's trending repositories.
Clik here to view.
There are plenty of libraries and frameworks around these days, but Web Starter Kit is pretty exciting and well worth exploring. In this post, I'm going walk you through several of its key features and also demonstrate how to use it for your next new project. Without further ado, let's get started!
About Web Starter Kit
As its name implies, Web Starter Kit is a development toolkit designed as a starting point for new projects. Google, in its Github repository, describes it as:
A starting point for multi-device web development
Upon inspection you may notice that Web Starter Kit draws inspiration by the likes of HTML5 Boilerplate and Yeoman (it combines the best of both these popular tools). Web Starter Kit ships with starter templates which are optimized both for speed and multiple devices.
We actively work on delivering the best PageSpeed Insights score and frame-rate possible.
On top of that, it also encompasses a number of tools to facilitate development, including a synchronized testing tool, live browser reloader, JavaScript linter, Sass compiler, CSS minifier, and an image optimizer. Much as in Yeoman, these tools are pre-configured, so we can start development without wasting any time on configuration.
Prerequisites
You can grab the files from Google's repo and simply download them, but in order to fully employ Web Starter Kit for your new project you'd be advised to have the following tools installed on your system:
Git: as mentioned above, Web Starter Kit project is hosted on Github. You'll find it leaner to grab the repository through the git clone command rather than downloading the Zip package. If you use the Github app, hit the Clone in Desktop button from the repo page:
Clik here to view.

Not sure what git is all about? check out Git for Designers on Tuts+ Code.
Node.js: many of the tools you'll encounter in Web Starter Kit, such as JSLinter, are built on top of Node.js. And they will be installed through Node Package Manager (NPM). You can refer to Installing Node and NPM, for further assistance.
Ruby and Sass: Web Starter Kit utilizes gulp-ruby-sass to compile Sass into CSS, which requires both Ruby and Sass to work. For OS X and Linux users, you'll have Ruby installed already. Windows users; use RubyInstaller to install Ruby. Once Ruby is installed, run gem install sass from the command prompt to install Sass.
For more information on installing Ruby and Sass, take a look at Mastering Sass: Lesson 1.
Gulp: using Gulp to handle many of the tasks needed during development will really help. With Node.js already on your system, install Gulp with the following command:
npm install -g gulp
Lastly, ensure the git and npm commands are accessible. Type the command below to test whether git and npm are functioning.
git --version && npm -v
These commands should respond with the git and npm versions, as follows.
Clik here to view.

Installing Web Starter Kit
Ok, to get started, navigate to the directory where you want to have your project (either navigate using commands, or type "cd" then drag your chosen folder into the terminal window before hitting "enter") then run the following command to clone the Web Starter Kit project:
git clone https://github.com/google/web-starter-kit.git
Afterwards, change the current directory to the "web-starter-kit" folder where the Web Starter Kit files reside.
cd web-starter-kit
In this folder, web-starter-kit/, you will find:
app/; this is the folder where all the unminified source code resides.package.json; enlist the dependencies.gulpfile.js; containing the configuration to run Gulp task.
Clik here to view.

Web Starter Kit Dependencies
As mentioned, Web Starter Kit relies upon a number of Node packages, including Gulp plugins, to run several build processes. So the next thing you'll have to do is to install the Node packages which are specified within the "package.json" file. Do this simply by entering the following command:
npm install
A whole pile of Node packages will then be installed in a folder named node_modules.
Clik here to view.

A Word on Gulp
In a nutshell, Gulp, is similar to Grunt. Both are "task runners" which automate certain tasks during development, aiming to handle the hard work for you. Normally, we would have to specify and configure Gulp tasks within a gulpfile.js, but since Web Starter Kit has done this job for us we can immediately run the Gulp tasks without touching anything.
During the course of your development process, type this command below.
gulp serve
This command will enable BrowserSync that has been incorporated and configured ingulpfile.js. BrowserSync is a handy tool which allows us to test website synchronously across multiple browsers. With BrowserSync, user interaction such as scrolling, clicking, and filling in inputs will be reflected in real-time through all connected devices. This allows us catch any discrepancies that may happen in each connected device as the interaction is happening. BrowseSync is also armed with HTTP server. Upon running this command you will be given the localhost address where you can access the website.
Clik here to view.

Furthermore, BrowserSync will monitor changes made within the files specified, including the HTML, the stylesheets, and the images. When we modify these files, BrowserSync will immediately run the task that has been specified in gulpfile.js
Anytime you are ready to publish your website, you can simply run gulp. This command will run all the Gulp tasks, compile the project into a distributable package in a new folder named dist/ which is ready to be handed over to your client.
A detail list of Gulp tasks can be found at Summary of Web Starter Kit tools.
Guide for Basic Styling
Web Starter Kit provides a Style Guide which kicks off basic styling of common elements and components, such as typography, buttons, links, breadcrumbs, tables, icons, and grid. Looking through the source you will also find the selectors used to produce the styles.
The Style Guide can be found in the app/styleguide folder and it's interconnected with the stylesheets, so we can see the Style Guide evolve while the stylesheet is updated. Brilliant!
Clik here to view.
Note: Be sure to check out our series All About Style Guides.
Wrapping Up
Well done! We have downloaded and setup the Web Starter Kit along with its dependencies, so you should now be able to work on your project.
All in all, Web Starter Kit is pretty solid — even in its current beta release. The template and tools are well-configured; they work out of the box. And seeing that this project is backed by Google with brilliant developers behind it, Web Starter Kit could quickly become as popular as Bootstrap or Foundation. I'm really looking forward to see how this project evolves in the future.
Further References
- Build Site with Web Starter Kit
- Google Web Fundamental, Best practices for modern web development
- What's in the Web Starter Kit build process?
Clik here to view.
 Image may be NSFW.
Clik here to view.
Clik here to view.
Clik here to view.